Guide
How to Build a Gaming Setup on a Budget
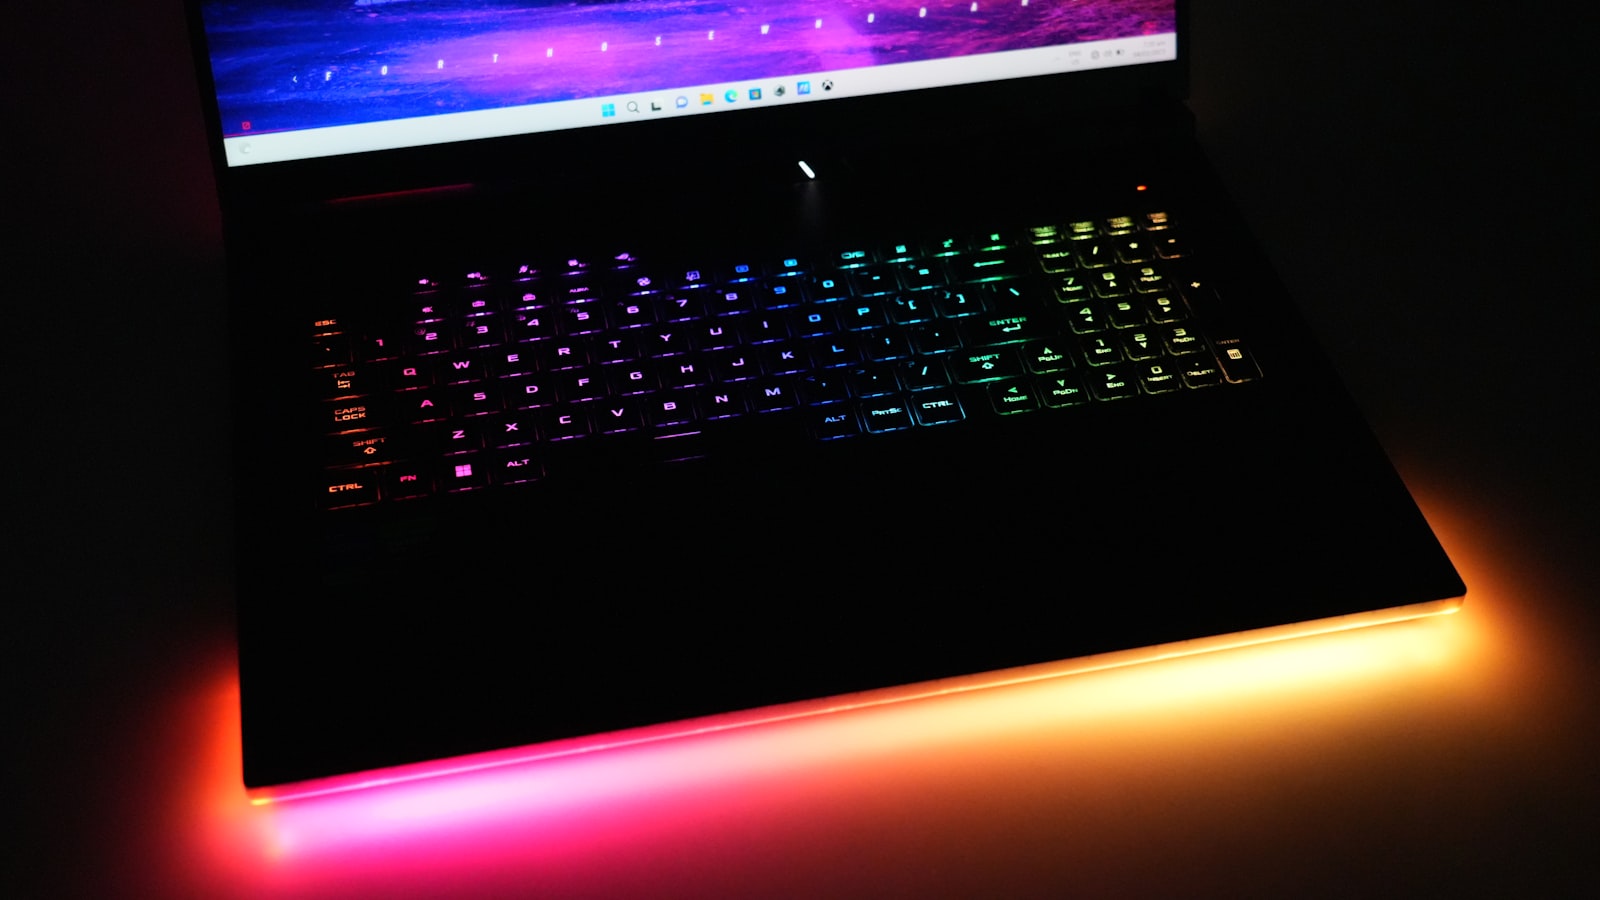
Themed setups look expensive because the finished versions you see online usually are, but the color story comes from a handful of high-visibility pieces, not from every single item on the desk matching.
Start with the one piece that takes up the most visual space
For most desks, that’s the keyboard. It’s the largest colored object directly in your eyeline, so getting its color right does more work than any other single purchase. Everything else can be built around it.
Contrast, not uniformity
A common mistake is trying to match every accessory to the exact same shade. In practice, two or three complementary tones read as more intentional than one color repeated everywhere. A warm, neutral mouse next to a cool-toned keyboard looks like a deliberate choice. Five identical shades of blue looks like whatever came up first in a search.
Lighting is the cheapest way to reinforce a theme
A single LED strip or light bar shifts the entire mood of a desk for less than almost any other accessory. It’s also the easiest thing to swap out later if you change your mind about the theme. A USB-powered strip like the Daymeet USB LED backlight runs off the monitor or a hub, so the cheapest part of the build also avoids spending a wall outlet.
Save the desk mat and organizers for last
These affect the overall look the least per dollar spent, so they’re the easiest place to cut budget early and upgrade later once you’re sure the theme is one you want to commit to.
The realistic order to buy in
- Keyboard
- Mouse
- Lighting (light bar or LED strip)
- Headset (if visible on the desk)
- Desk mat
- Small organizers and accessories
You can stop after step 2 or 3 and still have a setup that reads as themed. The later items are refinement, not requirements.